Mark0 Rev1 arrived
Mark0 Rev1 Has Landed 🚀 The Rev1 version of my Mark0 board has just arrived from JLCPCB — and once again, I’m genuinely surprised by the quality and speed. Seriously, they’re not paying me, this is just me being impressed every single time.
White is the New Black
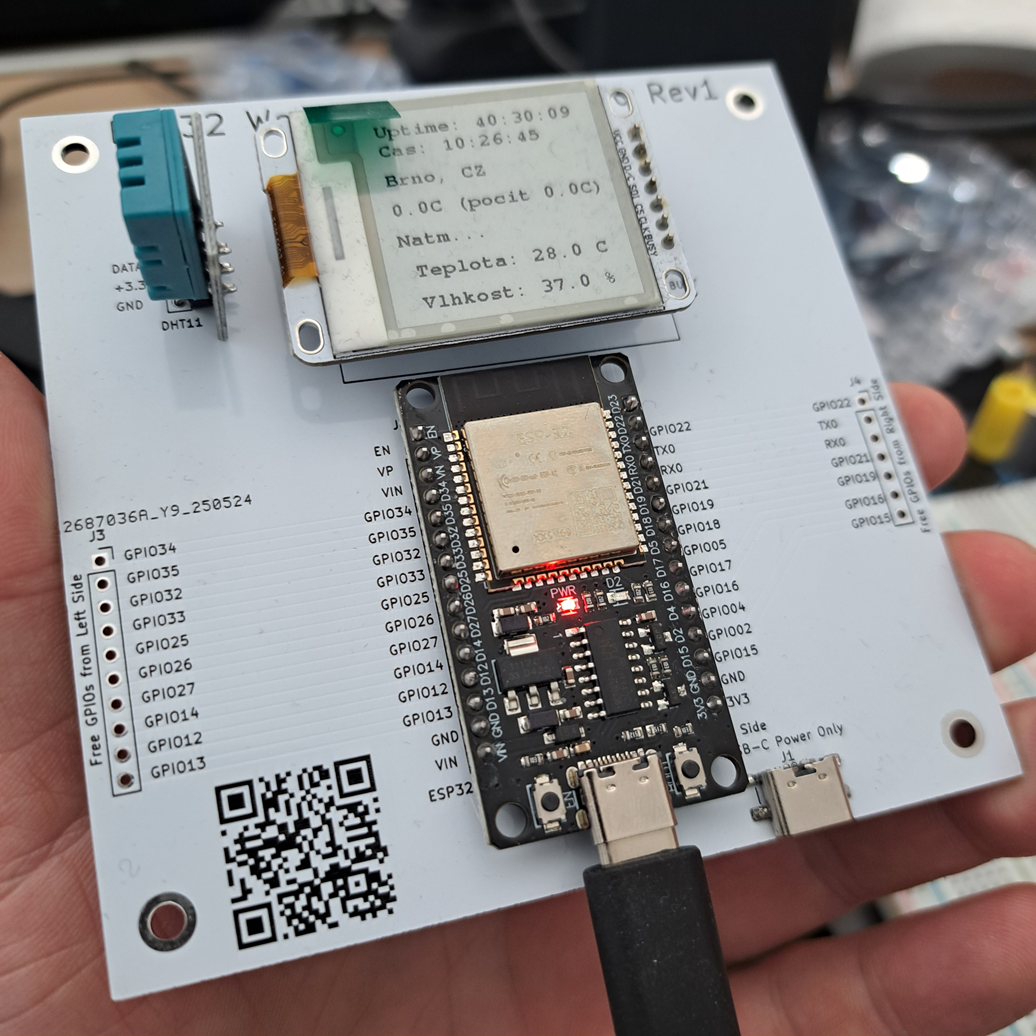
For Rev1, I chose a white PCB solder mask to visually distinguish it from Rev0. It also gives the board a cleaner look, and it’s easier to spot traces and silkscreen.
What Got Soldered
This time I soldered:
- ESP32 Devkit
- DHT11 sensor
What I didn’t solder: the eInk display — because it was a bit pricey and I want to reuse it in other builds. Instead, I went with precision sockets to keep it hot-swappable.
Improvements & Fixes
Functionally, it behaves the same as Rev0. The main difference is that now I can:
- See the full eInk display
- Scan the QR code, because it’s finally in the silkscreen layer and not covering any pads (yes… lesson learned 😅)
What’s Next?
The very last thing I might do with this board is tweak the firmware a little, so it stores the last 24h of sensor values directly on my PC. But only if I feel like it — otherwise, this marks the official wrap-up of Project Mark0.
🔧 Lessons Learned
- Use 4-pin USB-C if you just need power — don’t overcomplicate.
- Due to limits of API calls for free use move from every 3 minutes to 10 minutes. To be sure.
- THT connectors are more solder-friendly.
- Keep the WiFi/BLE antenna at the edge of the PCB — don’t bury it.
- Next time, I’ll 3D print standoff legs for the eInk and plan mounting holes directly into the PCB layout.
So… this is kinda it. Mark0 is done. On to Mark1 I go.
Stay tuned!
🛠️💡📦